

 |
|
|
Home | Screen shots | Documentation | Download | Contact | Blog |
How to configure AVR eclipse
AVR eclipse is a popular, but complex integrated development environment with which you can develop and run arduino software. It has a huge amount of possibilities which make configuring it to work with emulare a non-trivial excercise.
Necessities
To use emulare as the emulator in a debug session with eclipse you will need:
You can get emulare from the sourceforge page here.
You can get eclipse from here.
Use the IDE for C/C++ developpers.
Eclipse Plug-Ins can be installed from inside the eclipse IDE. The AVR eclipse Plug-In website has lots of information on how to install here and configure the Plug-In here.
Be sure to notice that the Arduino is an ATMEGA328p controller running at 16Mhz.

Running emulare from eclipse.
The first thing we want to do is to conveniently be able to load the emulare emulator. This is best done using External tools.
Click on the icon and choose "External Tools Configurations..."
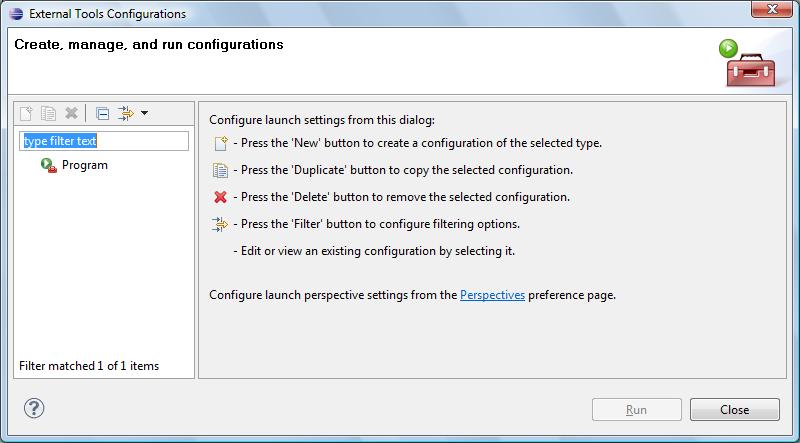
Select Program and press the new Icon. You will get a screen like:

Fill out the name (emulare) and the location of where you installed the emulator. And then press Apply.
Then go to the
Common tab and check the checkbox next to External Tools:
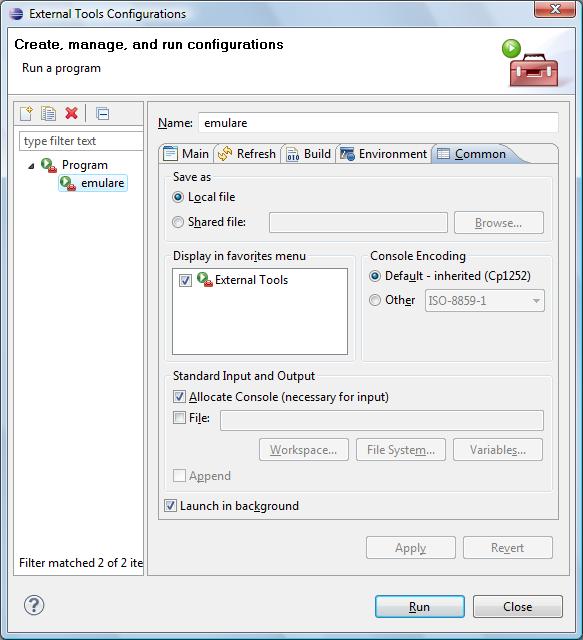
Press Apply and Close.
The program will
now be available through the External Tools Icon:
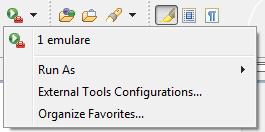
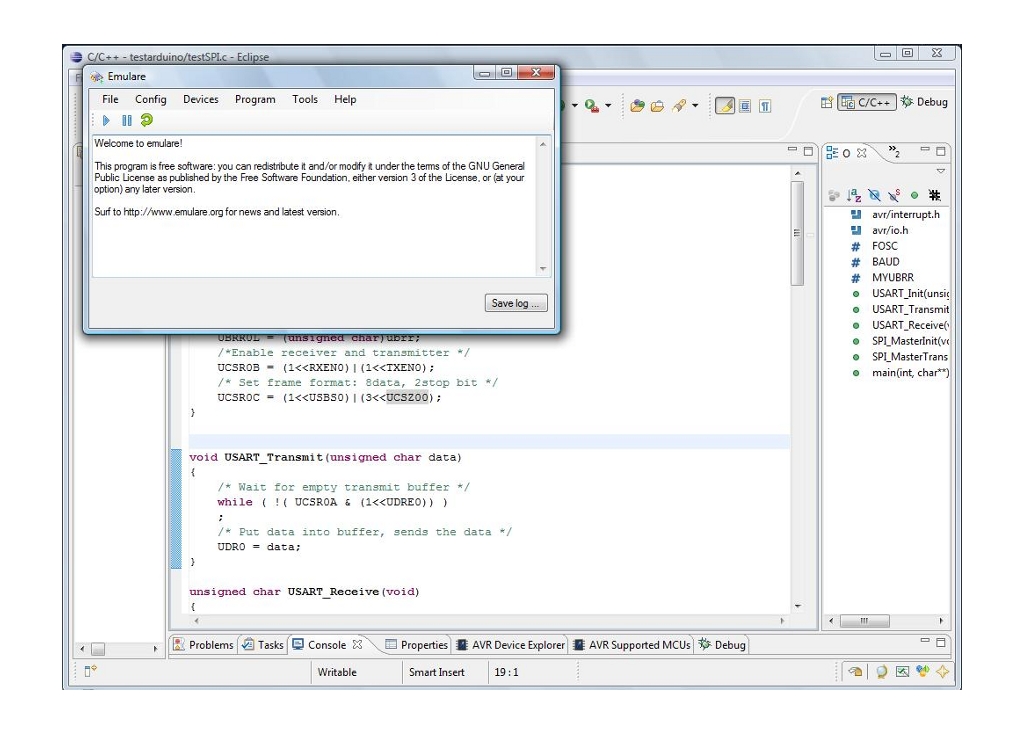
Click on 1 emulare and emulare will appear.
Creating a debug configuration
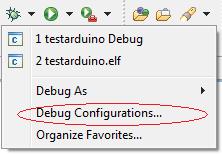
Press on the drop down menu next to the debug icon and choose Debug
Configurations ...
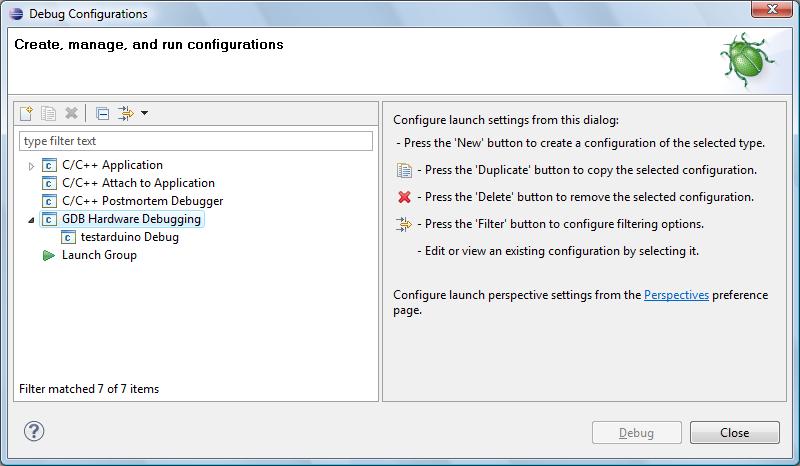
Choose GDB Hardware Debugging in the list box and press the "new launch
configuration" icon. This will create a new Debug configuration.
Go to the Debugger tab
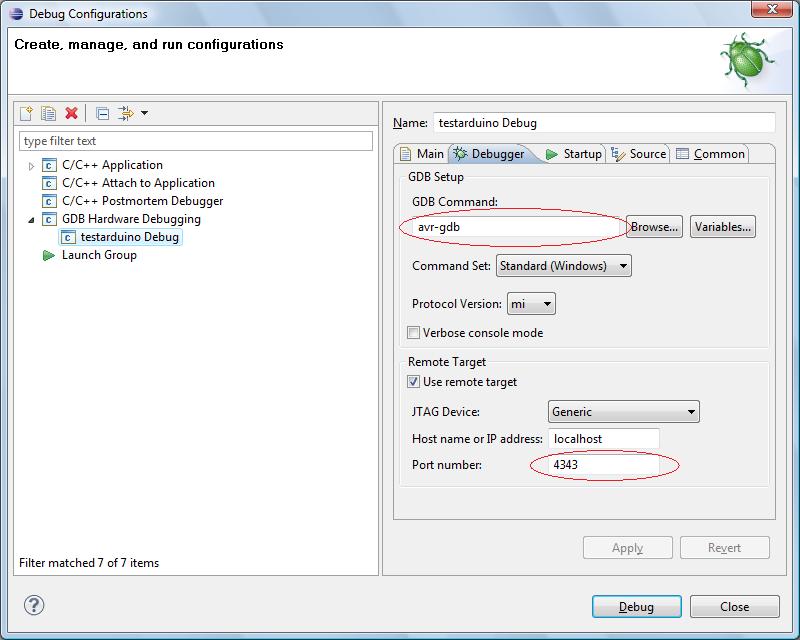
Change the following settings:
GDB Command: should be avr-gdb
Change the Port number to 4343
Go to the Startup tab
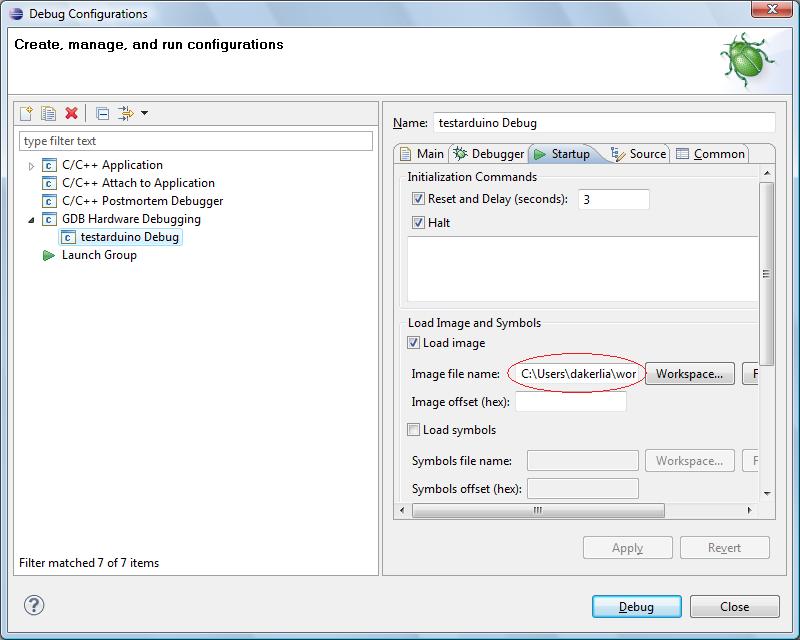
Change the following settings:
Load image: check the checkbox and fill out the absolute path to the elf file
created with the build of your project (the relative pah will not work)
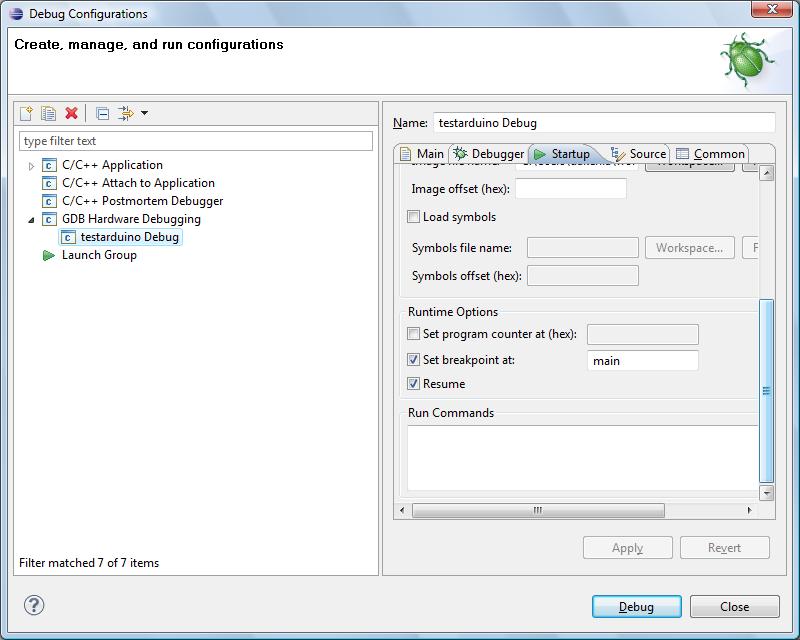
In Runtime Options:
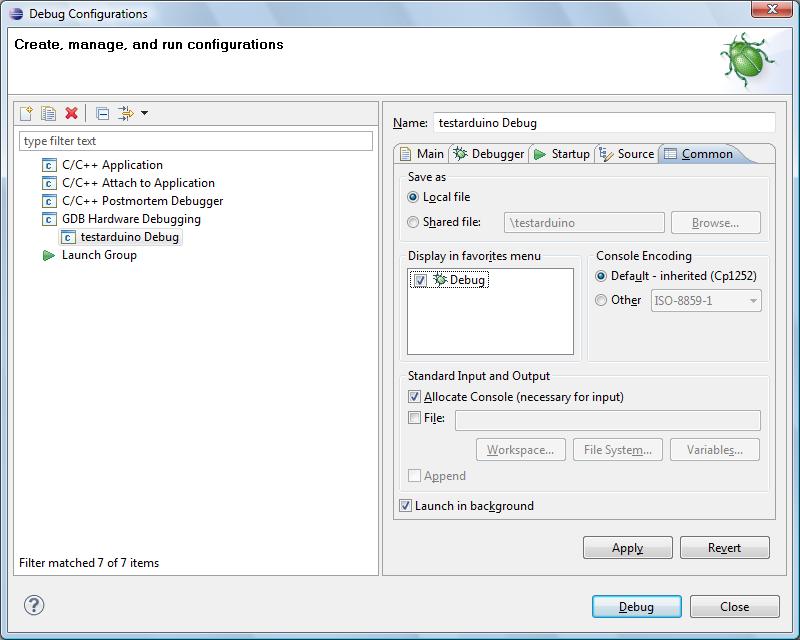
Starting a debug
session
Now with emulare running, select the drop down menu. From the menu select the item that ends in Debug.
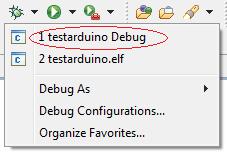
This will start the debug session. Eclipse will want to go to the debug perspective and show you the message:
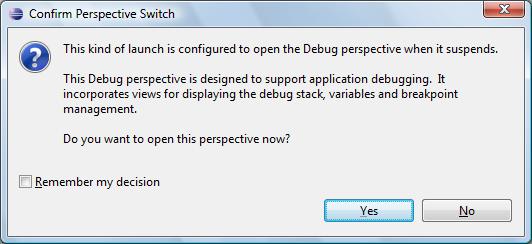
Press the Yes button. This will rearange your windows so you can easily start debugging your application.
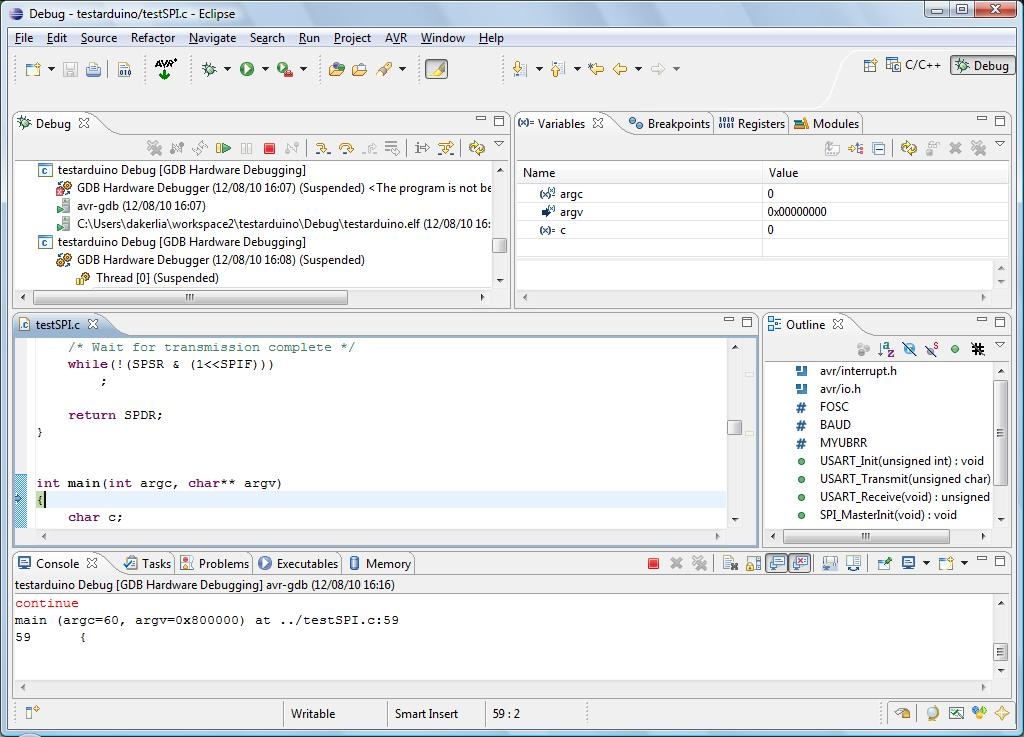
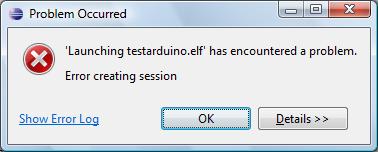
Eclipse insists on always creating an other debug configuration, without you doing anything about it. This one will not work at all. You will get an error message instead.
|
© COPYRIGHT 2010 Imre Leber |